



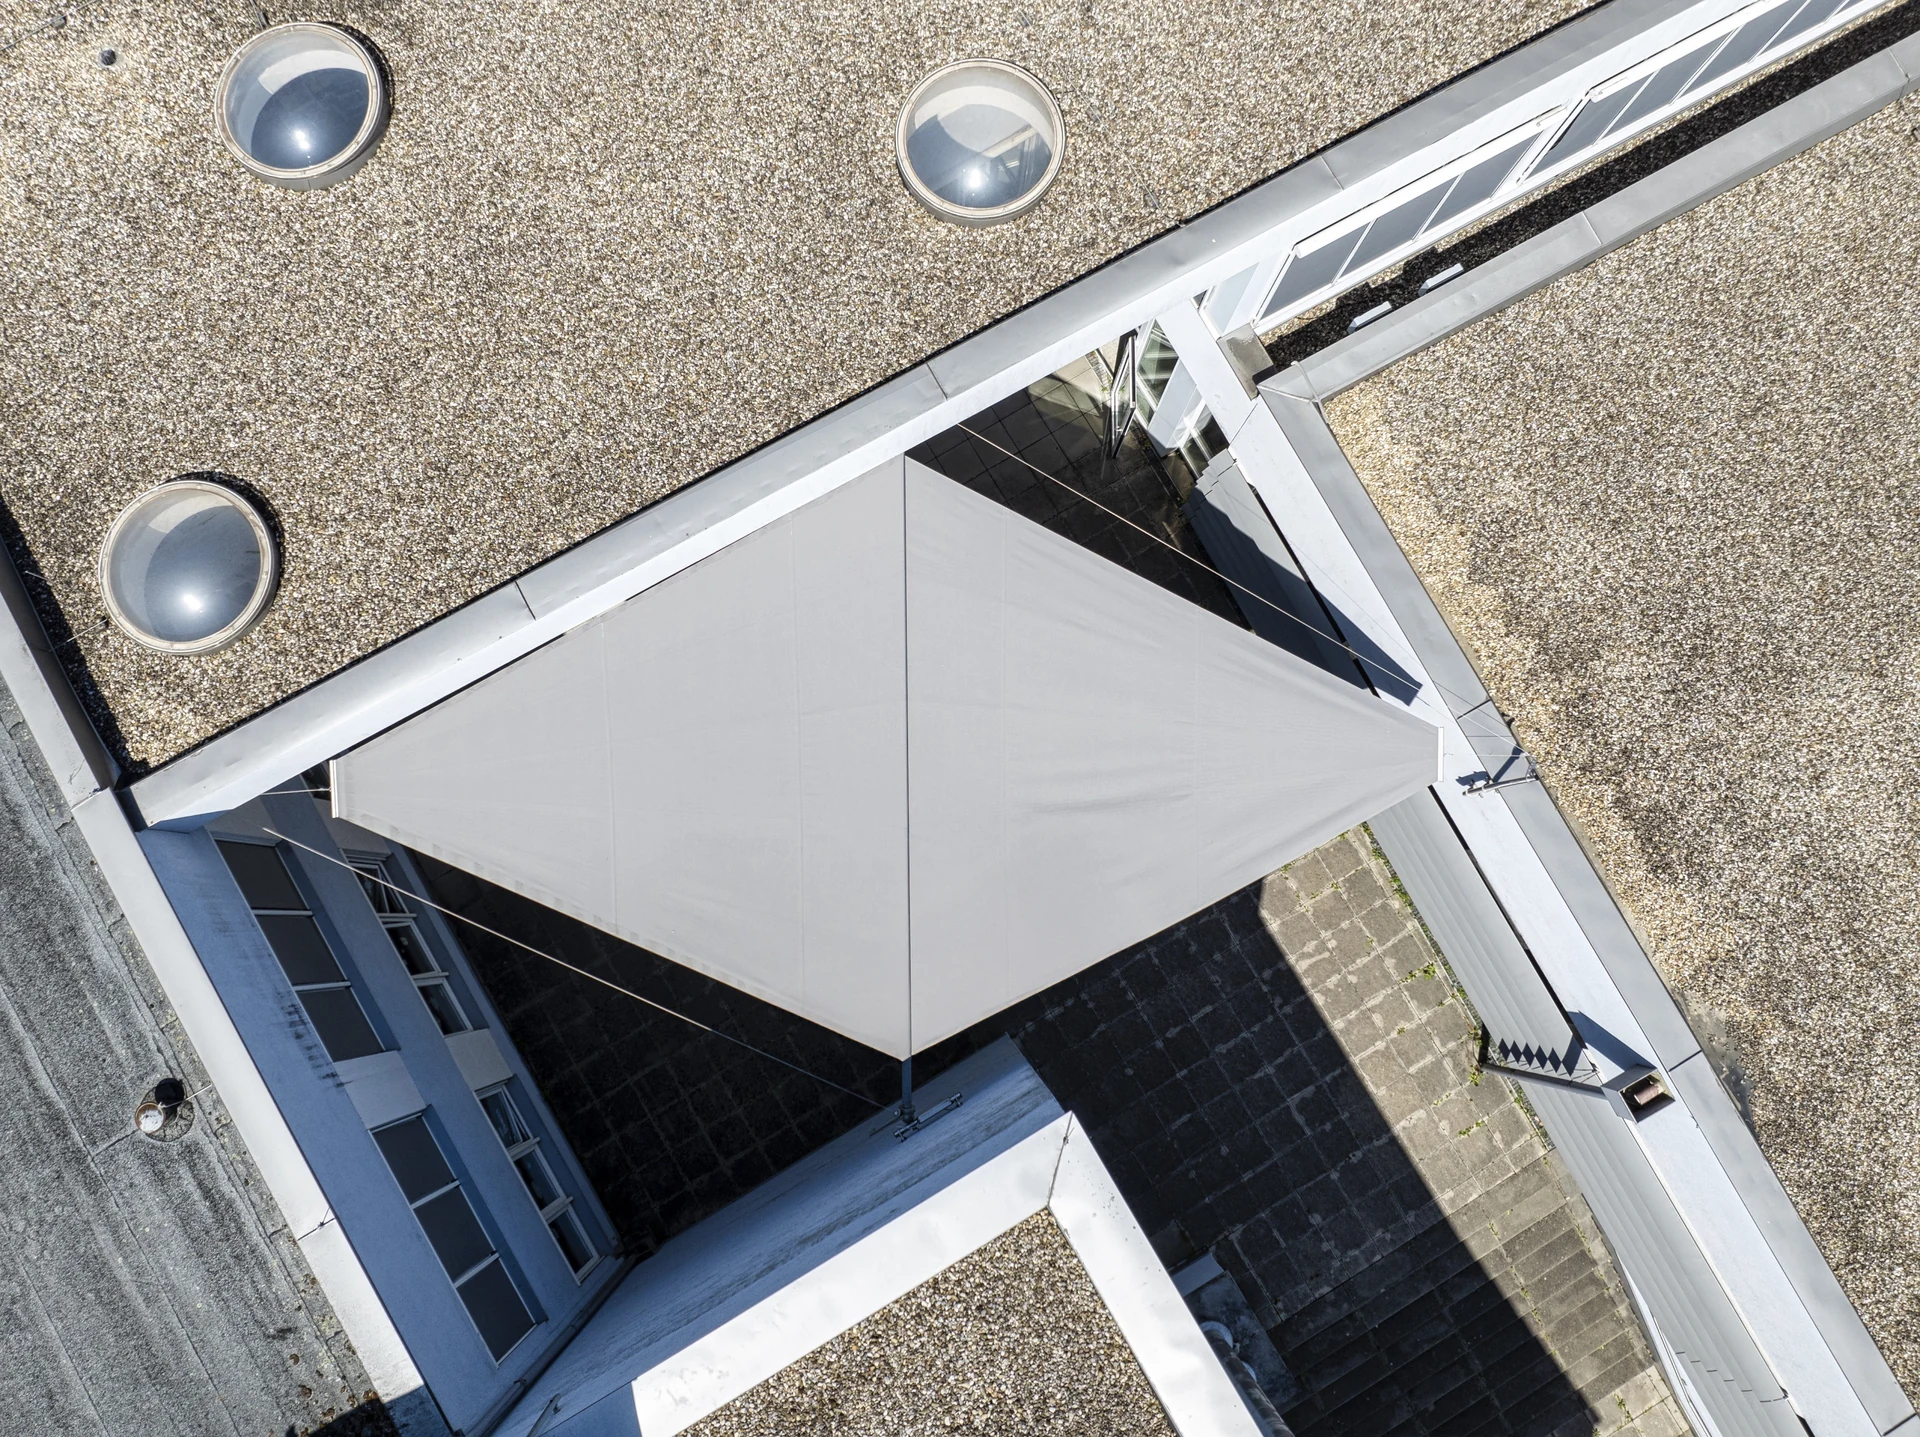



Sun sail out of storage & ready for summer
Preparation: you will need a stepladder and about 10 minutes of time. Important: make sure the sun sail has no power, to avoid it extending unintentionally.
Step 1: Start in the middle. Open all the press studs. Then pull the large zips open to the left and right, as far as your hands reach.
Step 2: Change position. Now work towards the side away from the wind sensor, opposite the power connection. At the end, open the zip fully but leave the strap closed. This keeps the cover on the roller so it does not fall to the ground. While you are there, check the state of the cords and pulleys in the brackets. If the cords are thin or cracked, we recommend contacting us to have them replaced.
Step 3: Change position again and turn to the side still closed by the zip. Open this cover zip too, right to the end of the roller. This time also open the strap. Check the cords and guide pulleys here as well.
Step 4: Now wind the winter cover up directly on the roller. This keeps the cover clean and lets it fold away neatly.
Step 5: now make sure the sun sail has power and run it as a test
Made for your comfort

Remote control
Re-pair the handset or remote control

Winterising
Winter-ready sun sail: fitting the winter cover

End positions
Set the sun sail end positions & extension
Contact us now