



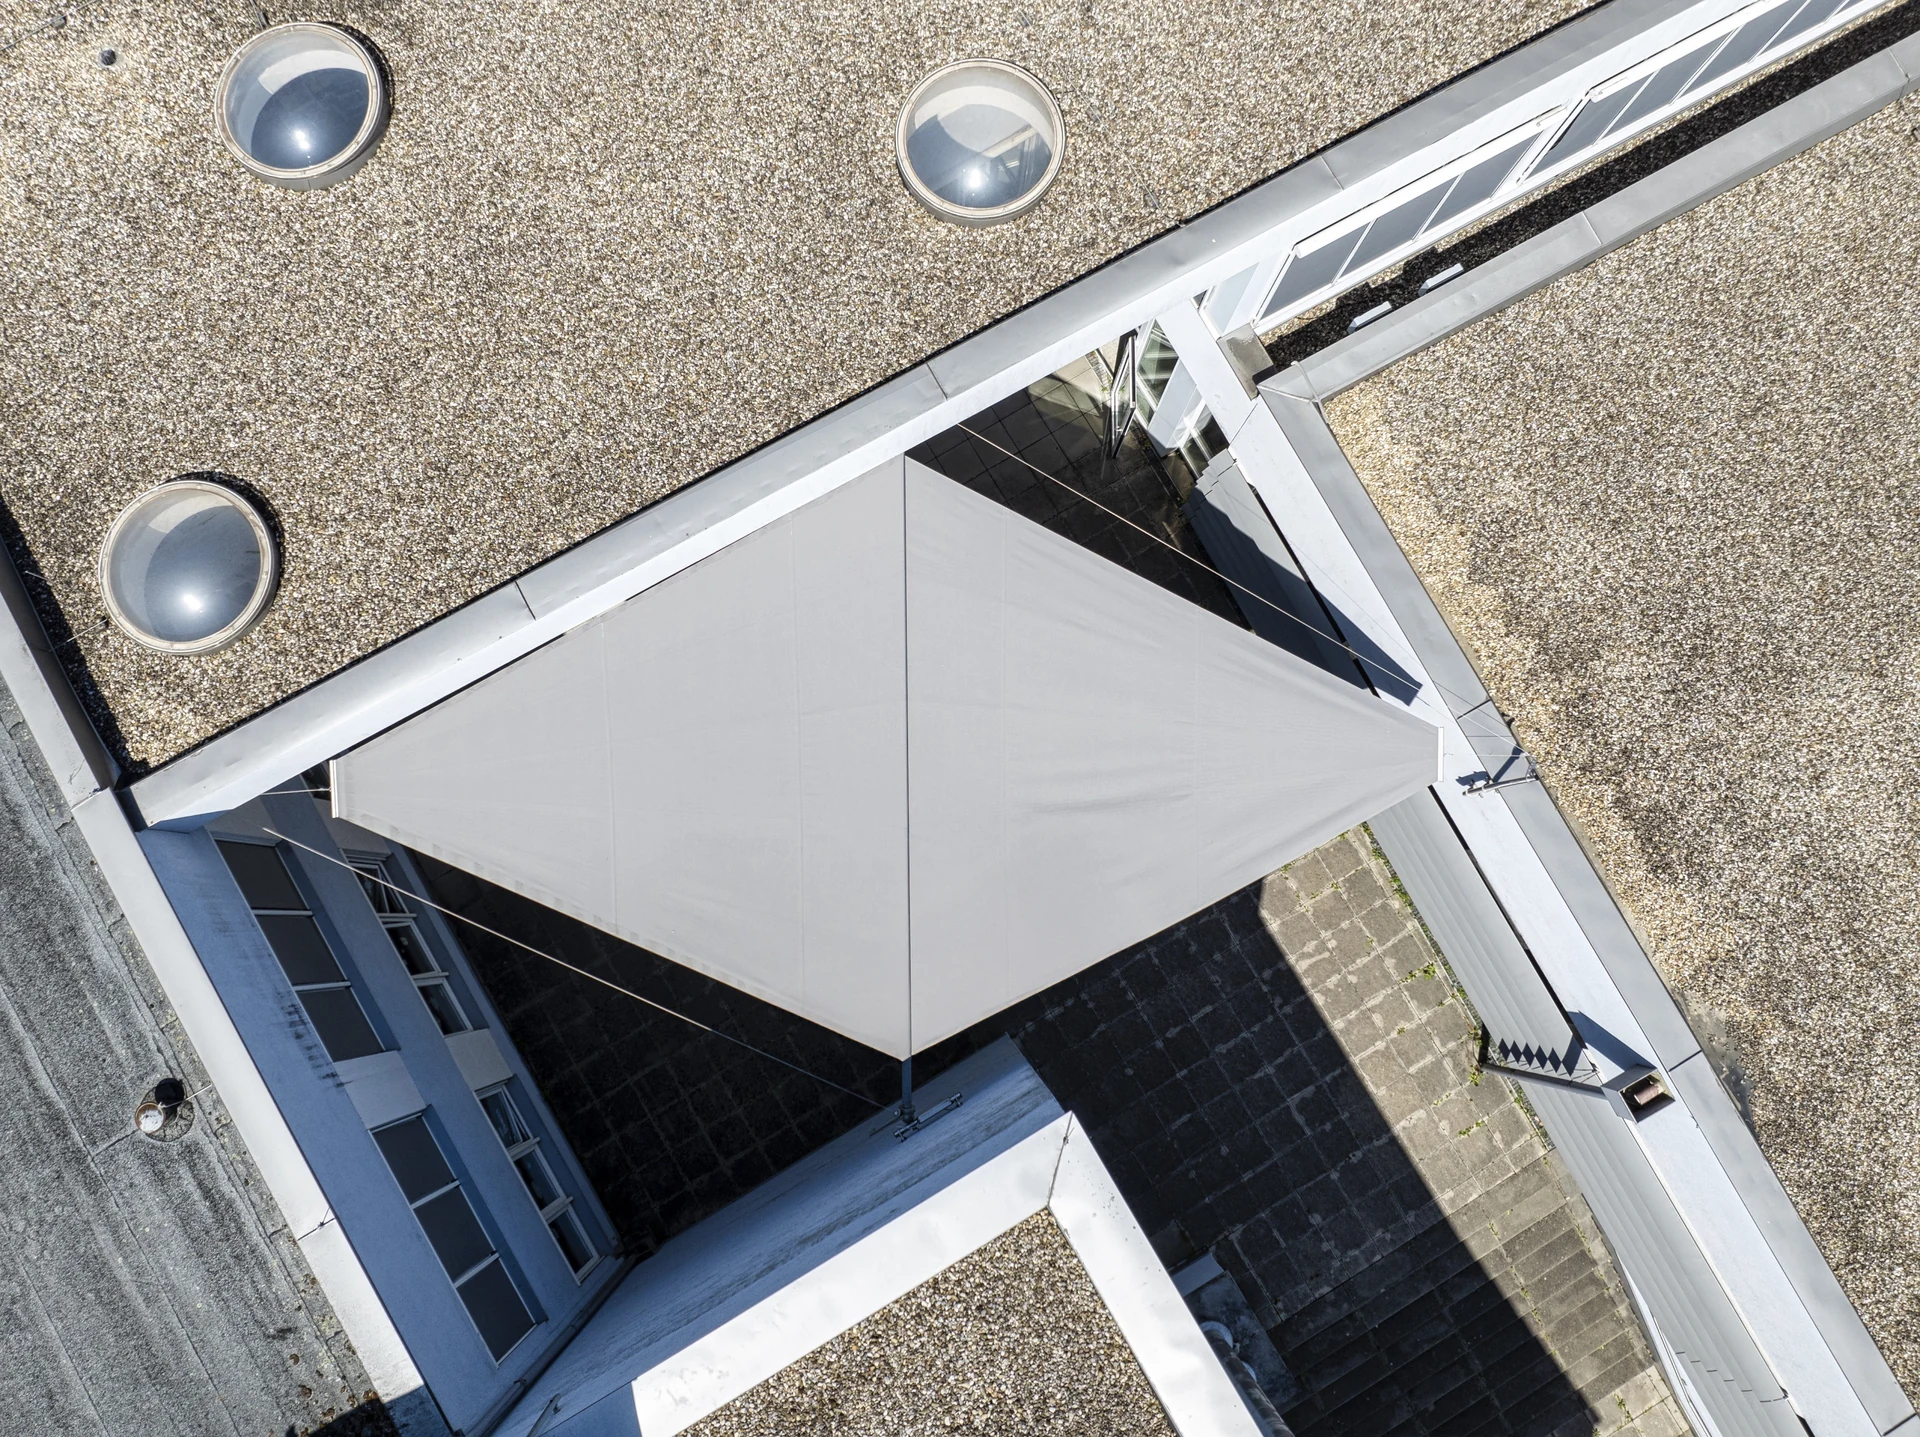



Winterising your sun sail: fit the protective cover
Why correct winterising matters
Winterising your sun sail is a crucial step in protecting it from harsh winter weather. Correct storage extends the sail’s lifespan and ensures it’s ready for use again in spring.
Step-by-step guide to winterising your sun sail
Step 1: Drying
Make sure the sun sail is dry. Ideally let it dry fully extended for 2–3 hours on a warm autumn day, then retract it.
Step 2: Disconnect power
Then disconnect the sun sail from the power supply. This stops it from extending inside the winter cover and being damaged.
Step 3: Fit the protective cover
Lay the winter cover on the fabric shaft. Start on the motor side, where the wind sensor and power cable are. Close the zip on the underside slowly. As you go, unroll the cover 1 to 2 metres at a time, up to the middle of the sail. The label faces inward.
Step 4: Fixing points and ropes
Do not unhook the ropes in the middle of the sail. Open the snap-fastener opening, guide the ropes through the cut-outs and leave the snap fasteners open. Then cover the rest of the shaft.
Step 5: Secure the cover
Tie the straps at both ends with a simple bow, like a shoelace. Smooth the cover. Then close the snap fasteners in the middle. The cover should fit the sail snugly.
Step 6: Final checks
Inspect the sail and cover for any damage or loose parts. Make sure the sail is properly secured to the roller.
Made for your comfort

Remote control
Re-pairing the handset or remote control

Bringing out of storage
Bringing your sun sail out of storage: removing the winter cover

End positions
Set sun sail end positions & extension
Request a quote now
Send us a short message and we’ll get back to you promptly. Our consultation is of course free of obligation, and we’d be delighted by your interest.